This tutorial shows you how to display Google Adsense ads on your Joomla! 1.6.x website without installing an extension.
Requires you have a Google Adsense account. Should work for other ad providers that provide you with a code snippet for ads on your site.
Joomla! 1.6 is now obsolete and Joomla.org no longer provides support for it.
The instructions are the same for Joomla! 1.6 and Joomla! 1.7 – except that Joomla! 1.7.0 has compatibility problems with at least IE 8 (and possibly other browsers). Read the updated instructions for Joomla! 1.7 here.
Some images may be clicked for larger sizes.
It is very easy to place Google Adsense ads on your Joomla! site without installing an extension.
Yet, the last time I looked, there were dozens of different Joomla! extensions to help you with Google Adsense ads on your site.
Embedding ads directly within your article requires a plug-in and is not covered by this tutorial.
Determine Ad Placement
You need to find a place for the ads on your site.
Ads are typically placed at the:
- top of the page
- bottom of the page
- side of the page
See this article on how to enable Joomla 1.6 to display module positions.
To reveal the module positions available in your Joomla! template, append
?tp=1
to the end of your URL. As shown below, the various module positions available on this site are revealed:
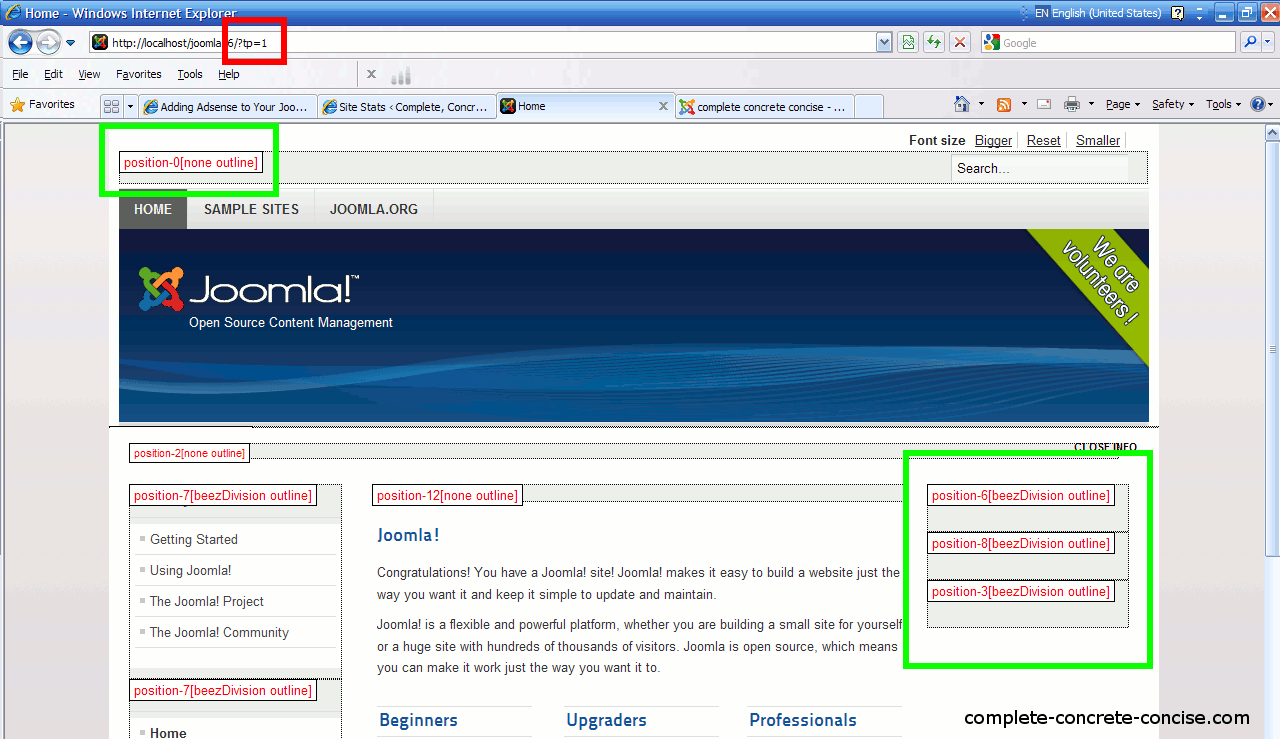
You can choose to place ads in a currently empty module position, for example: position-6, position-8, position-3, position-0, position-12, position-2 , position-9, position-10, position-11 or position-14 in the case of this template. Or you can place them in already occupied module positions, for example, position-5.
Where you place the ad will determine the type of ad you place. For instance, if you choose to place an ad on the left position, then a narrow and tall ad makes more sense than a short, wide ad.
Remember the name of the module position where you want to place your ad.
Disabling the HTML Editor
Joomla! tries very hard to prevent users from entering malicious code. This also means it prevents adding legitimate code. To get around this we need to disable the HTML editor.
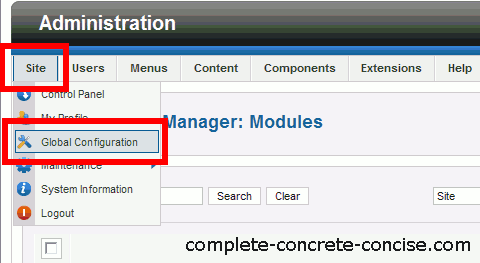
1) Select Global Configuration from the Site menu item:
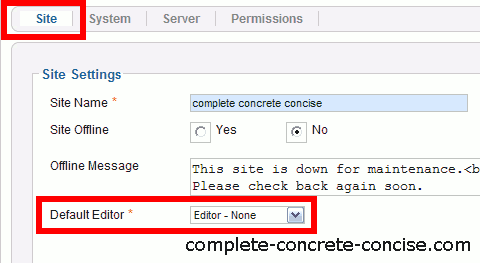
2) Select Editor – No Editor for the Default WYSIWYG Editor:
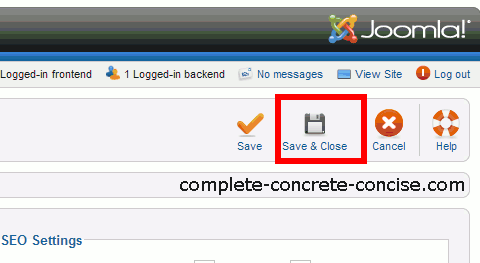
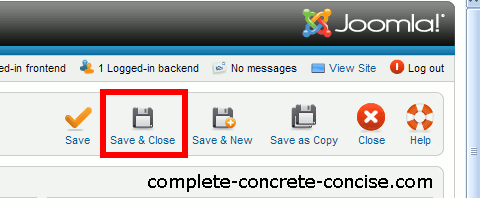
3) Click on Save & Close to save the changes:
After you are done, you can restore the editor to the TinyMCE editor (or which ever editor you were using).
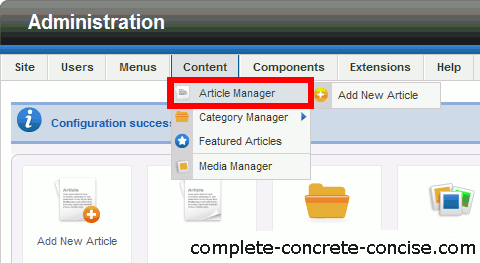
4) Select Article Manager from the Content menu:
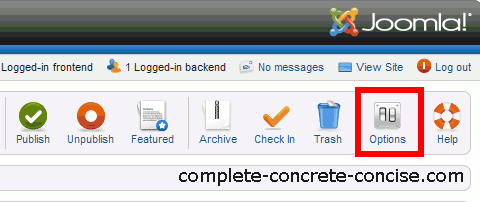
5) Select the Options icon:
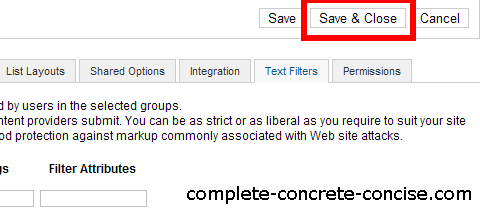
6) Click on the Text Filters tab:

7) Scroll down to Super Users and select No Filtering from the dropdown box.
NOTE: this step assumes you are logged in as an administrator and thus have super user privileges.

8) Scroll back up and click on Save & Close:
After you are done, you can restore the option to Black List (default).
Adding Adsense
You require an Adsense account.
You also need the HTML code Google will provide you for your ad.
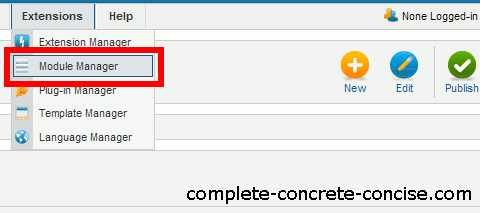
1) Select Module Manager from the Extensions menu item.
2) Click on New to create a new module.

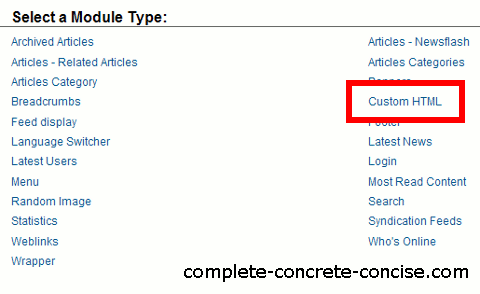
3) Click on Custom HTML:
4) Fill in the module information.
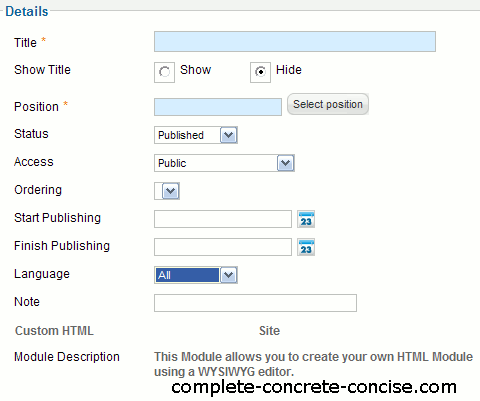
Details
- Title: enter a title for this module. If you want to display the title, something like Sponsored by is a good choice.
- Show Title: select Yes to display the title, No to not display the title.
- Position:·from the dropdown list, select the name of the module position you decided on when determining your ad placement
- Status: set to Published to show / display the module.
- Access: ensure Public is selected.
- Order: if there are other modules occupying your selected position, you can choose the ordering of the modules.
- Start Publishing: leave empty.
- Finish Publishing: leave blank
- Language: leave as All.
- Note: optional note to display in the module list.
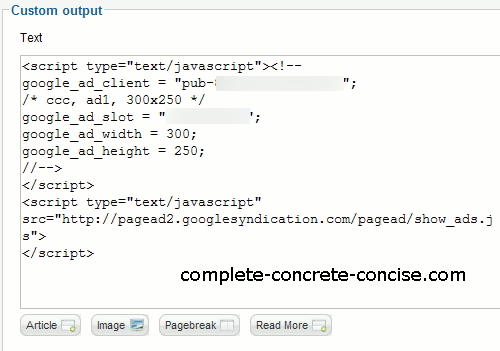
Custom Output
This is where you paste the HTML code that Google Adsense gives you.
Advanced Formatting Trick
It is likely that the ads will be left justified in the module position.
You can horizontally center the ads by adding
<div align=”center”>
before the HTML code Google Adsense gave you and adding
</div>
at the end of the Adsense code.
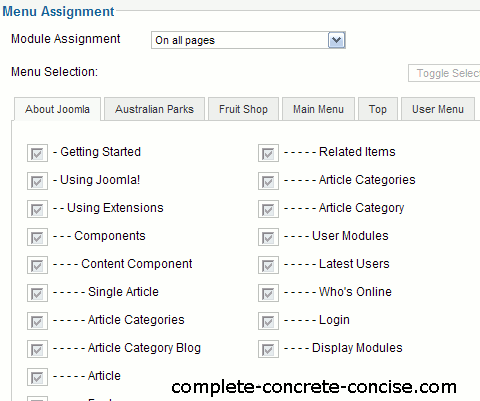
Module Assignment
Ensure On all pages is selected. This will place the ad module on all pages of your Joomla! site.
If you want some pages to be ad free, then select one of the other Module Assignment options (No pages, Only on the pages selected, or On all pages except those selected) and then select only those pages were you want the ads to appear or not appear.
5) Click on Save & Close
6) Observe that the module has been correctly installed. To locate the newly created module, I find it easiest to click on the ID column and sort the column in descending order:

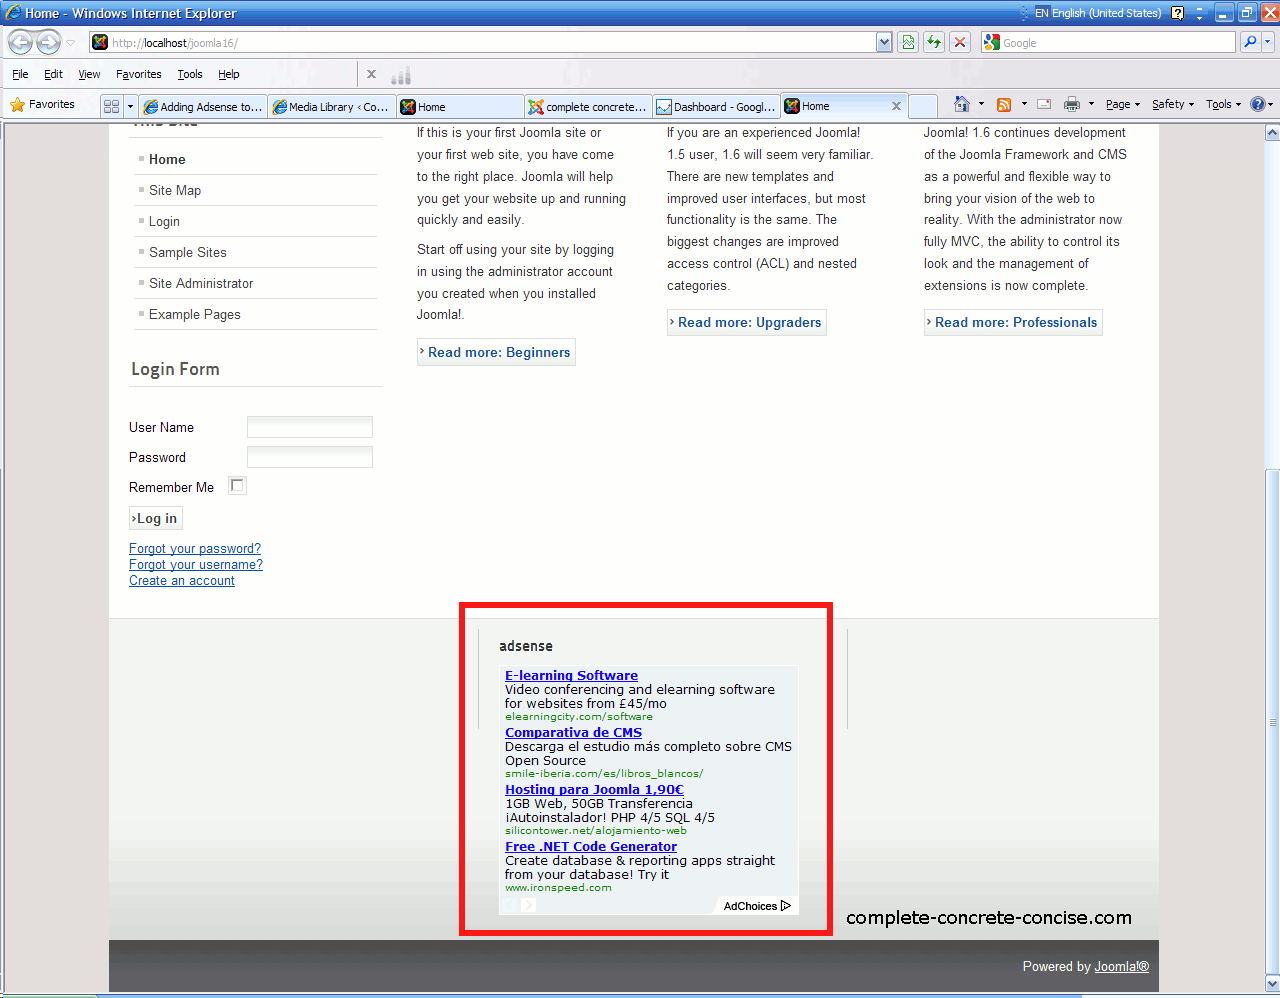
7) Check that the ads show up and are correctly positioned on your site (in this case, I created a single Adsense module in position-10:
Thank you worked perfect!
You’re welcome and thanks for the feedback.
if you could hepl me i do what you sad but it don’t show ads google what can i do !!
Debugging someone else’s machine and code without being able to see it is hard, but …
The two most obvious reasons are:
(1) you didn’t properly disable HTML text filtering.
(2) you just created a new ad unit. It takes about 20-30 minutes for new ad units to start displaying ads. Just wait.
Checking that HTML filtering:
(1) check that you disabled HTML editting. There are two places this has to be done: (1) at the global configuration page and (2) under the Options -> Text Filters
If these are not disabled, then Joomla! will strip out your HTML code and the adsense code will not work.
(2) Check that the adsense code you added actually looks like what Google provided. Go to Extensions –> Module Manager and find the custom module you added. The easiest way is to sort the ID column in descending order, the custom module you added will have the highest ID.
If the HTML in the Custom Output box is not the same as what Google provided you, then have not correctly disabled HTML filtering.
If you created a new ad unit
If the HTML code is the same as what Google proviced, then you may have to wait about 20 minutes or so for Google to update your Adsense account.
When you create a new Adsense Ad, it takes about 20-30 minutes for it to become active and start serving ads.