Replacing the toner cartridge in the Brother HL-3140CW laser printer is not difficult, but it is not immediately obvious because the toner and drum assembly are joined together.
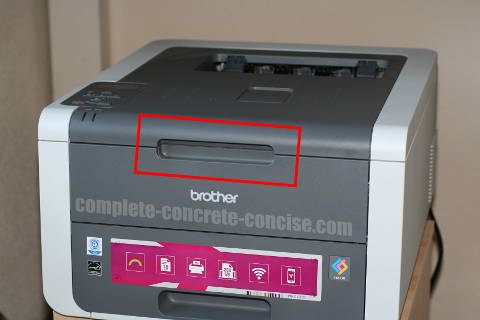
1) Open the laser printer by lifting the the top part. There are no catches to unlock, so it is easy enough to open:
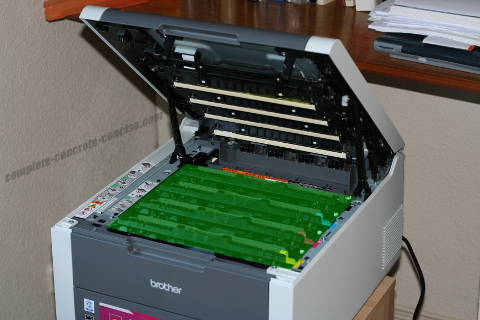
2) Remove the toner cartridge to replace. It will be one of the four cartridges shaded in green. The entire cartridge assembly lifts right out, there are no latches to unlock:
What you have in your hands is two pieces – the toner and the drum – even if it looks like just one part:
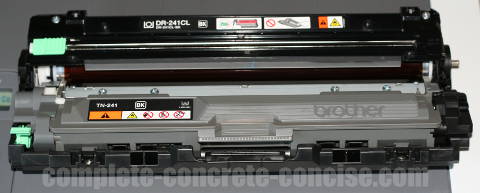
Disassembled, the two parts look like this:

The part in blue is the drum. Be careful not to get fingerprints on the drum itself (the round cylinder at the end).
The part in green is the toner.
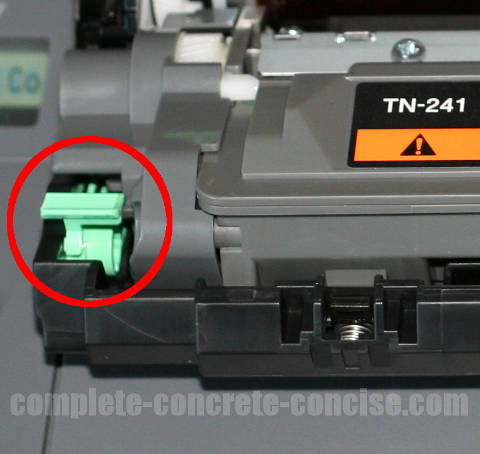
3) Lay the toner and drum assembly on a clean, flat surface (preferably with a sheet of paper underneath in case some toner spills out) with the green tabs facing up:
4) Press down on the green latch (bottom left, if you have oriented your assembly like the image above) to unlatch the toner from the drum and remove the toner:
5) Insert the new toner into the drum assembly. It should fit and latch easily.
Before inserting the new toner, remember to gently tilt it from side to side to evenly distribute the toner inside.
6) Slide the green slider on the drum assembly back and forth a few times. Remember to return it to its latched position.
7) Reinsert the toner and drum assembly back into the printer. It should drop in easily.
8) Close the printer an wait for it to go through its cycle.