So far, I am pleased with my decision to change over to w.bloggar. Sure, it is not fancy, there is no WYSIWYG editing (but there is a basic ‘preview’ function), no incorporating your site’s theme, no “live” spelling grammar checking (you can invoke a spellchecker), and it hasn’t been updated in over 3 years.
On the positive side
- it uploads (without modifying) my images;
- I can upload both the thumbnail and full sized image at the same time and have them linked (AFAIK, only Windows Live Writer is also able to do this – albeit in a much nicer WYSIWYG way);
- I can define up to 12 custom xhtml keys (a feature I find lacking in other blogging clients) – those coloured text blocks in my posts have been assigned to those keys. The basic xhtml formatting operations of bold , italic, underline, strike-through and
block quote
are probably all most people need. Sometimes, they are not enough. Sometimes, additional formatting styles are needed – and they shouldn’t be hard coded in the post, but applied as styles from the style sheet – and being able to access them with a shortcut key is much nicer than editing the xhtml;
- it posts very quickly – in fact, it is the fasted posting blogging client I have ever used (this is because w.bloggar uploads your images as soon as you insert them into your post)
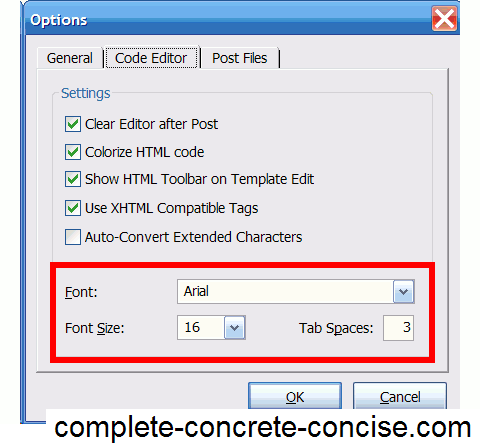
I also discovered how to change the editor font size so I don’t have to go blind squinting at the default font – which was too small for me. I also disabled a goofy “minimize to tray” feature – minimizing to the tray is a bad idea because I expect to locate my applications on the task bar.
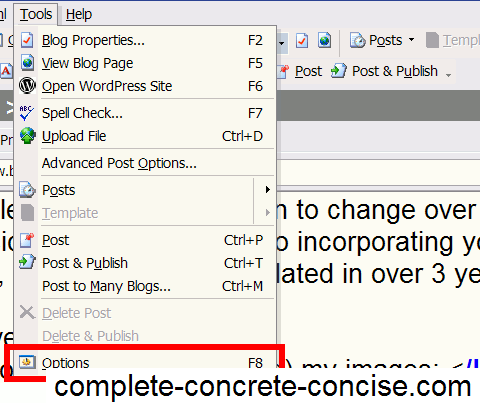
(1) w.bloggar configuration options can be accessed from Tools → Options (or the F8 key).
(2) editor font options