You probably didn’t think much about what was happening with your content when you were coding plain HTML documents. You may have wished you could have given then some pizazz, but they looked as you coded them.
Some styling – just background colour and text colour – was introduced in the previous tutorial and if you played around with it, you may have noticed some interesting behaviour.
My example page looks like this:
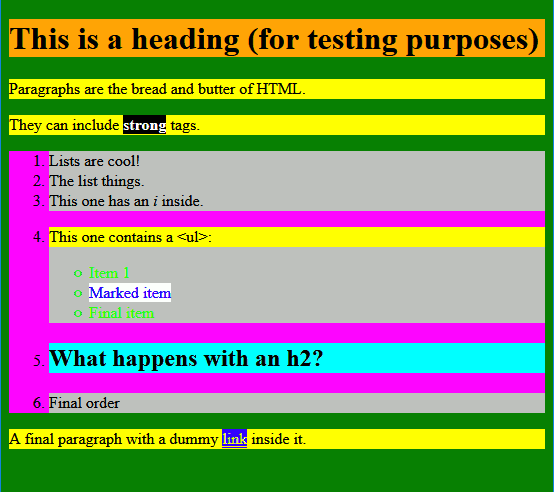
Aside from being garish looking, it hints at the behaviour of HTML and CSS.
You can style any HTML element. However, it doesn’t make sense to style elements which are not displayed. Styling the head, title, style, or meta doesn’t have any effect because they are not seen.
Let’s explore this a bit more.
Contents
Every HTML Element is a Box
More accurately, every HTML element in the body section that is displayed is a box (if you placed a style block on the body section, it will not be a box because it is not displayed). The html tag is special and will be discussed later.
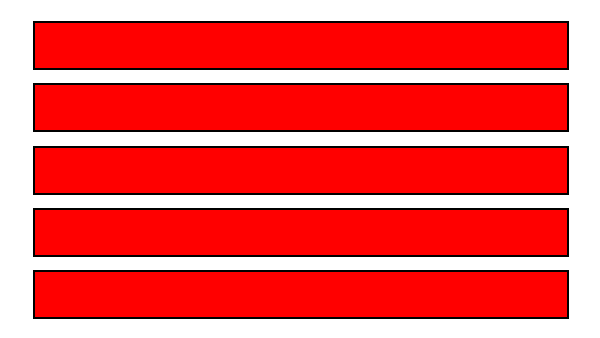
Like all boxes, you can stack them like blocks:
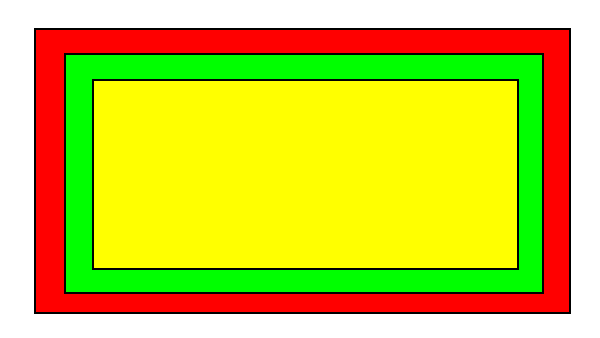
or put one inside another like containers:
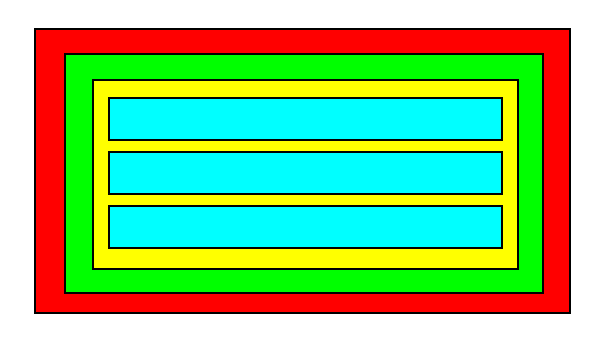
or combine stacking and containment:
CSS Box Model
This concept of boxes is captured in the CSS Box Model:
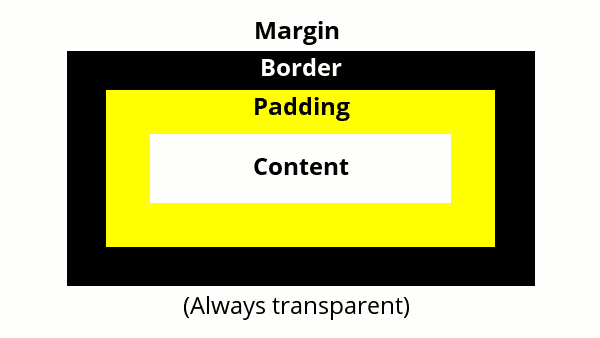
Content
Content is at the centre of the box. This content is, usually, text, but it can also be embedded content such as images, audio, or videos. It can also be considered the foreground. This is what the color attribute affects.
The box expands to fit the size of the content.
Padding
Padding is the space around the content. It allows you to control the amount of background space surrounding your content.
You control the amount of padding around the content using the padding property:
The above code snippet adds an extra 5 pixels to the padding around the content in paragraphs. In other words, 5 pixels are added to the left, right, top, and bottom of the background for each paragraph.
There are many ways of specifying the padding property, but, for now, this is all you need.
Border
The border goes around the padding. By default, the border is transparent and 0 pixels in width.
You use the border property to adjust the width and colour of the border:
The above code snippet draws a solid red border that is 5 pixels thick around every paragraph. The order of the parameters doesn’t matter. The colour can be: named, hexadecimal, or RGB.
There are many ways of specifying the border property, but, for now, this is all you need. There are many border styles, in addition to solid, you can try dotted, dashed, or double.
Margin
The margin is empty space around the border. It is always transparent, so you can never see it – except for the spacing effect it produces. This allows you to control the spacing between various HTML elements.
You control the amount of margin around the border using the margin property:
The above code snippet adds an extra 5 pixels to the margin around the border in paragraphs. In other words, 5 pixels are added to the left, right, top, and bottom of each paragraph. The margin is always transparent.
Conclusion
- Every HTML element in the body section that is displayed is a box.
- You can stack HTML elements.
- You can embed HTML elements inside other HTML elements.
- CSS specifies a Box Model for HTML elements.
- At the centre of every box is the content. Boxes expand to contain the content.
- Content is surrounded by space called padding.
- The amount of padding can be adjusted using the padding property.
- The padding property (for now) takes a single value: the number of pixels to be used for padding. It is applied to the top, right, bottom, and left of the content.
- The padding is the same colour as the background-color of the HTML element.
- A border surrounds the padding.
- The border can be customized using the border property.
- The border property takes 3 values: border width (in pixels), border style (usually solid), and the border colour (named, hexadecimal, or RGB). It is applied to the top, right, bottom, and left of the padding surrounding the content.
- The border values can be in any order.
- There is a margin around the border.
- The margin is always transparent.
- The margin can be adjusted using the margin property.
- The margin property (for now) takes a single value: the number of pixels to be used for padding. It is applied to the top, right, bottom, and left of the border of the HTML element.
Playing Around
The best way to learn is to play around with what you have learned.
This tutorial showed you that HTML elements can be considered as boxes. It also introduced the CSS Box model.
Using the border and margin properties, create some simple HTML documents and see how the boxes stack and nest with each other.
You can use the following sample code (which is the same as the previous) as a starting point:
- Style one element at a time and see what happens.
- I recommend using a border with a width of 5 pixels.
- I recommend using a margin of 2 pixels.
<!DOCTYPE HTML>
<html>
<head>
<title>Hello World</title>
<meta charset="utf-8" />
<style>
body {
}
h1 {
}
h2 {
}
p {
}
li {
}
ol {
}
ul {
}
strong {
}
mark {
}
a {
}
</style>
</head>
<body>
<h1>This is a heading (for testing purposes)</h1>
<p>Paragraphs are the bread and butter of HTML.</p>
<p>They can include <strong>strong</strong> tags.
</p>
<ol>
<li>Lists are cool!</li>
<li>The list things.</li>
<li>This one has an <i>i</i> inside.</li>
<li><p>This one contains a <ul>:</p>
<ul>
<li>Item 1</li>
<li><mark>Marked item</mark></li>
<li>Final item</li>
</ul>
<li><h2>What happens with an h2?</h2></li>
<li>Final order</li>
</ol>
<p>A final paragraph with a dummy
<a href="#">link</a> inside it.</p>
</body>
</html>