This tutorial is for adding shared folders to Ubuntu 11.10 running under VirtualBox 4.1.8r75467 on Windows 7 with SP 1.
The instructions should be the same for the same for other version combinations, or even for different OSes on which VirtualBox runs, but no guarantee is made.
Assumes you have enabled shared folders for Ubuntu 11.10.
Instructions for enabling shared folders can be found here.
Some images may be clicked for full-sized versions.
NOTE: the virtual machine must be off (not running) for these instructions to work.
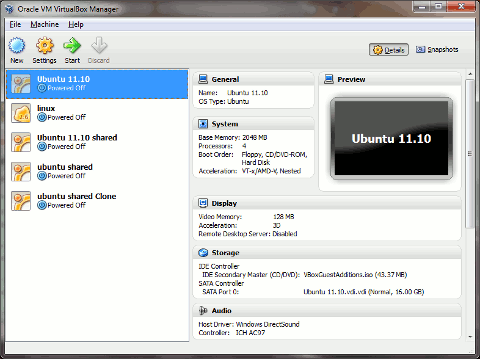
1) Start VirtualBox:
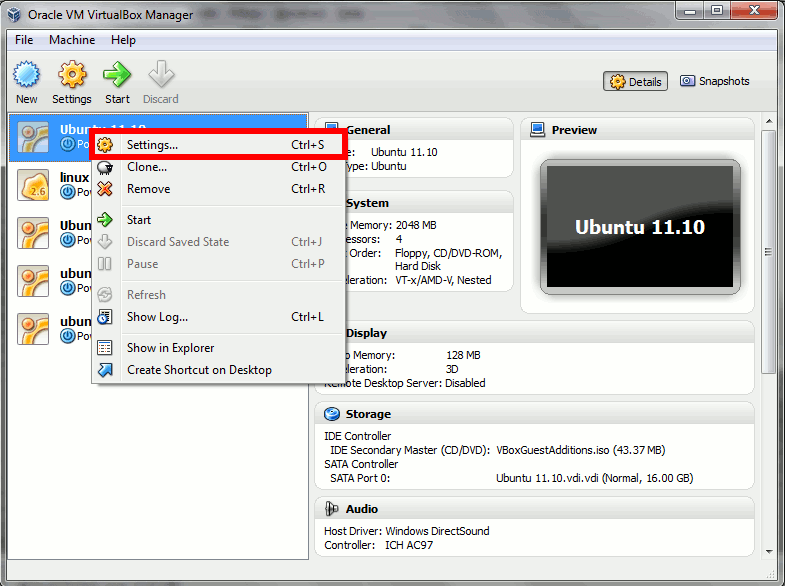
2) Right-click on the virtual machine you wish to add a shared folder. This will bring up a context men. Left-click on Settings…:
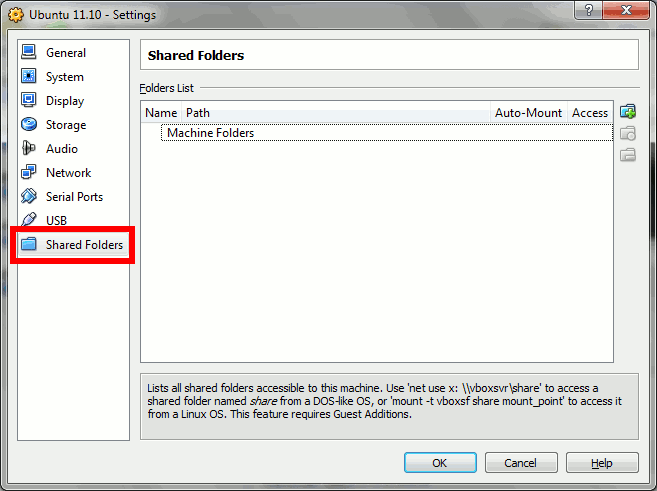
3) Left-click on Shared Folders in the left pane:
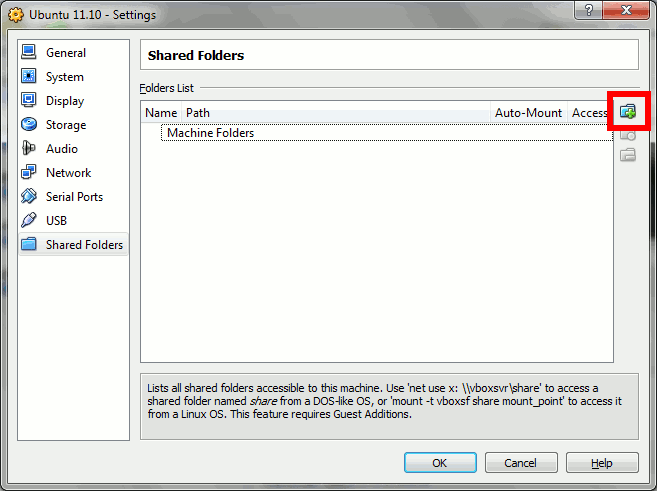
4) Left-click on the Add Shared Folder icon:
5) Select Other… from the Folder Path: dropdown box:

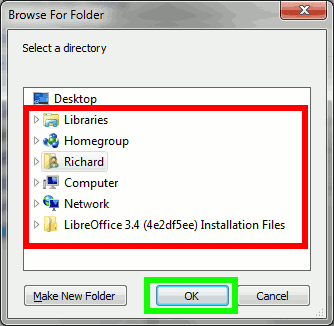
6) Navigate through the Directory Browser until you find and select the folder you want to share. Click on OK:
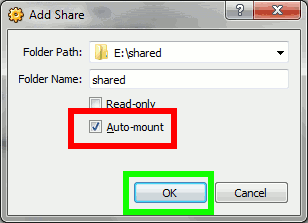
7) Click on the Auto-mount checkbox to enable it. Then click on OK
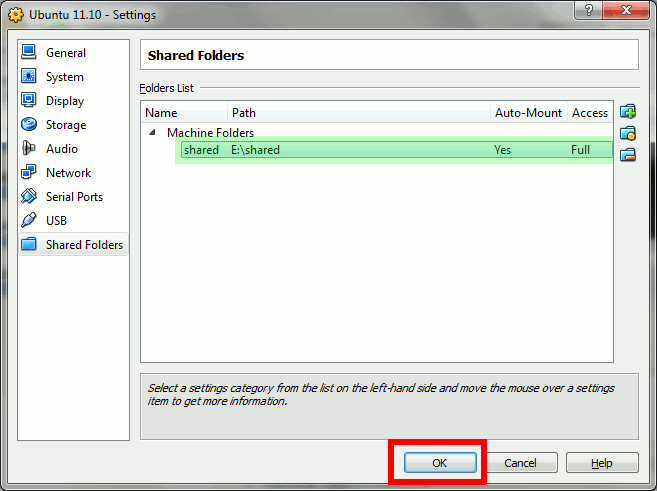
8) Verify the folder has been added. Click on OK:
You can always add additional folders by clicking on the Add Shared Folder icon.
you can remove a shared folder by selecting it and then clicking on the Remove Shared Folder icon (this is the folder icon with the minus sign on it).
You can edit the shared folder by selecting it and then clicking on the Edit Shared Folder icon (this is the folder icon with the dot on it).
The next time you start your virtual machine, you will find the shared folder located in the /media folder. The shared folder will have the prefix sf_.