These instructions are for Ubuntu 11.10, with the Unity interface, running under VirtualBox 4.1.8. They should be the same or similar for other version combinations, but no guarantee is made.
Sometimes, when Ubuntu updates are applied to your system, the VirtualBox Guest Additions stop working. Symptoms may include: (1) screen resolution reverts back to the default setting, (2) shared folders no longer work.
Trying to fix it by selecting Install Guest Additions… does nothing (and it won’t because Guest Additions are already installed).
The fix is to rerun the Guest Additions installation program. There are two ways to do this.
Method 1
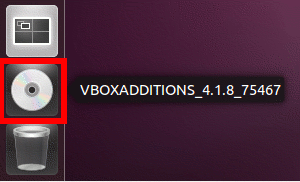
1) Locate the VBOXADDITIONS disk icon (it is probably the only disk icon) located near the bottom of the Unity ribbon (it is most likely just above the trash can icon) . Click on the disk icon:
2) Click on Open Autorun Prompt:
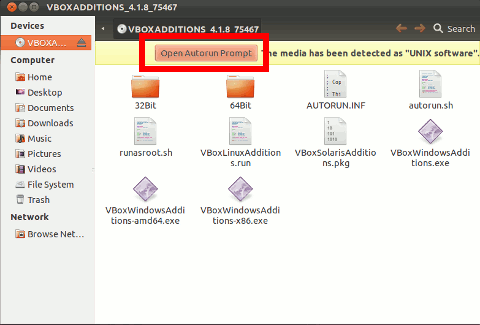
This will uninstall the Guest Additions and then reinstall them. The rest of the procedure is exactly the same as for installing VirtualBox Guest Additions.
Method 2
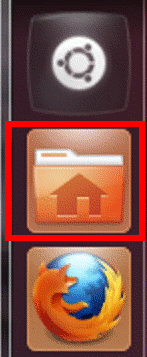
1) Click the Folder icon on the Unity ribbon:
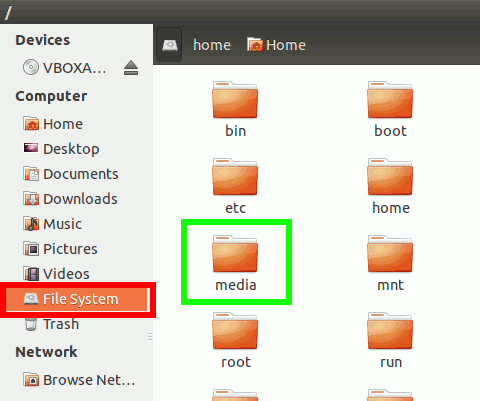
2) Click on File System, then double-click on the media folder:
3) Double-click the VBOXADDITIONS icon:
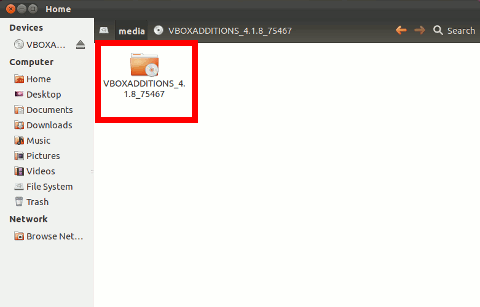
4) Click on Open Autorun Prompt:

This will uninstall the Guest Additions and then reinstall them. The rest of the procedure is exactly the same as for installing VirtualBox Guest Additions.