These instructions are for WordPress version 3.1, 3.1.1, 3.1.2, 3.1.3, 3.1.4, 3.2.0, and 3.2.1 into a folder other than \wordpress under XAMPP 1.7.3 running on Windows XP with Service Pack 3 installed.
You may want to install into a different folder for various reasons, the two most common being: (1) you want to have multiple WordPress installations, or (2) you want control over where the files are installed.
These instructions should be the same for other versions, but no guarantee is made.
Assumes you have XAMPP installed.
To install WordPress to something other than the default wordpress directory, you need to (1) install WordPress into that directory and then (2) move all the files found in the wordpress directory up into that directory and, (3) delete the wordpress directory.
These instructions assume Windows is providing archiving functionality for you. If you have installed a different archiving program, the specific steps for extraction and moving the files will be slightly different, but the process is the same.
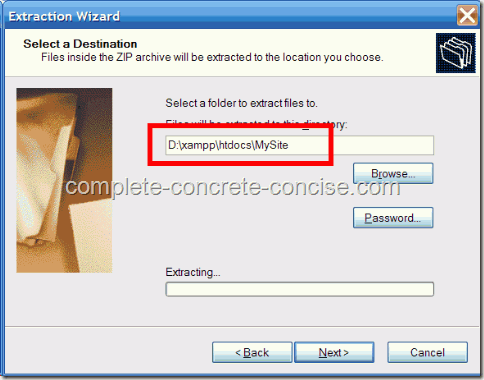
(1) Extract WordPress into the desired directory under htdocs:
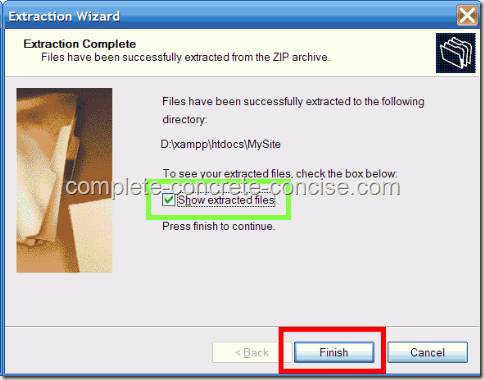
(2) Ensure the Show extracted files checkbox is ticked and click on Finish:
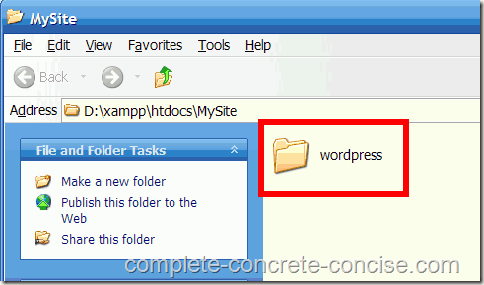
(3) Open the wordpress folder by double-clicking on it:
(4) Select Select All from the Edit menu (or press Ctrl+A):
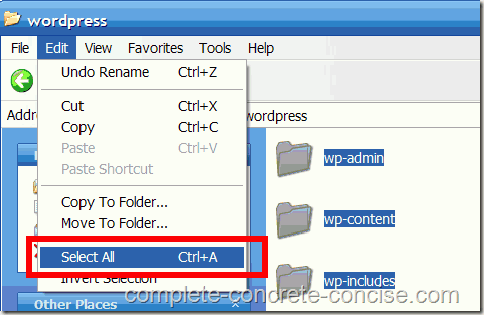
(5) Select Copy from the Edit menu (or press Ctrl+C):
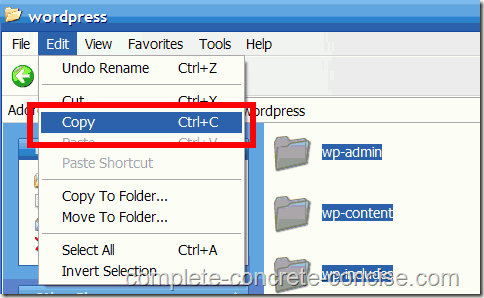
(6) Click on the back button to return to the previous folder:
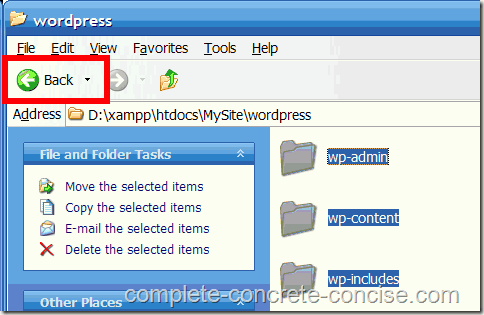
(7) Select Paste from the Edit menu (or press Ctrl+V):
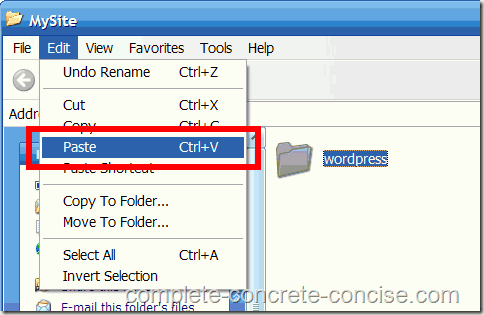
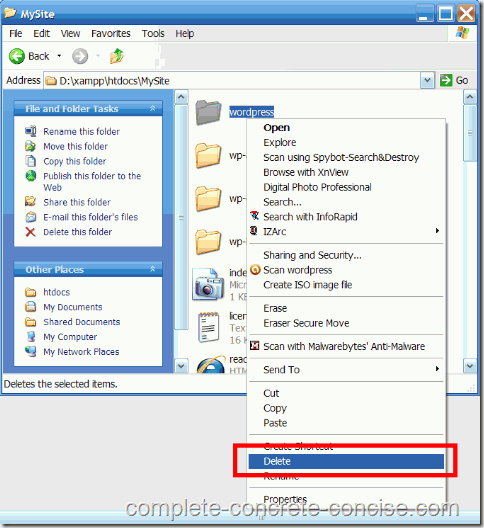
(8) Right-click on the wordpress folder and select Delete from the popup menu:
If you want to access the installed site using a “real” web address (like www.wordpress.3) instead of localhost/path-name, you can find instructions to do that here.
