This tutorial assumes that you have AMPSS 1.2 installed.
The procedure should be the same for other versions of AMPPS.
An AMPPS installation procedure for Windows XP can be found here.
Normally, you would not need to create a database in AMPPS because the setup script will automatically do that for you.
However, if you are installing an application that does not have a setup script provided by AMPPS (and it requires a MySQL database), then you will need to manually create a database.
As well, if you are writing your own application and require a database, then you will also need to manually create one.
Creating a Database
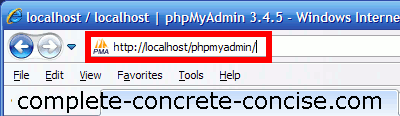
1) Open your browser and enter http://localhost/phpmyadmin. This will bring you to the MySQL setup page:
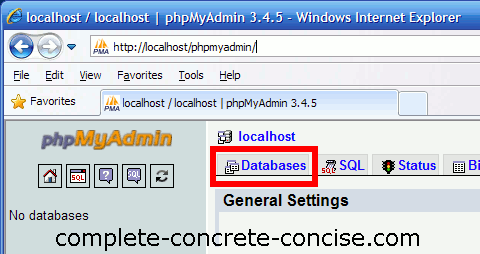
2) Click on the Databases tab:
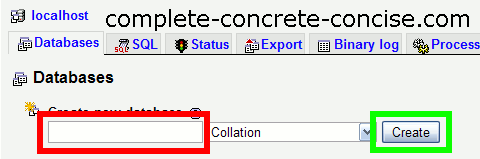
3) Enter a name for the database, then click on the Create button. The name must be 64 characters or less and composed of letters, numbers and underscores. Avoid using numbers at the start of the name. A good name should indicate the purpose of the database. For example: joomla_database or database_for_drupal. There should be no need to change the other settings:
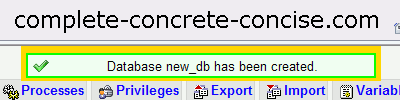
4) Confirm the database was successfully created (this is a popup that only lasts a few seconds):
While the database has been created, it is only accessible by user root. Since AMPPS does not give us root privileges for the database, we need to create a user for the database.
Creating a User for the Database
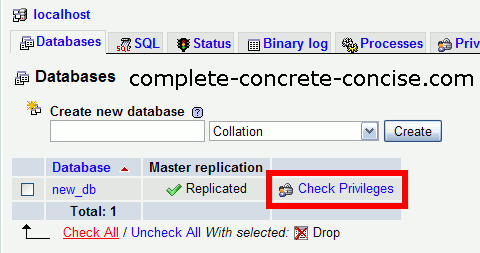
5) Click on the Databases tab:
6) Click on Check Privileges:
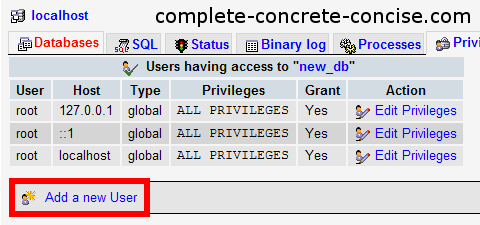
7) Click on Add a new user:
8) Fill in the user information:
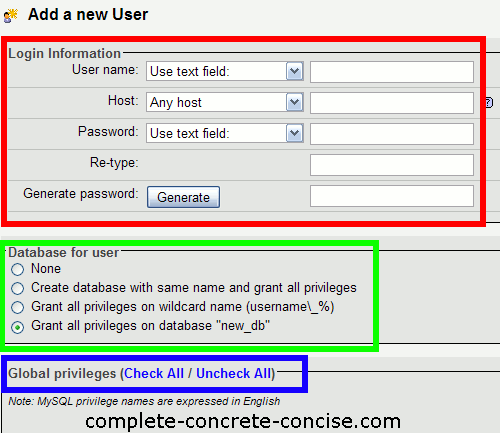
User Name: Leave the dropdown selection as Use text field and enter a user name in the edit box on the right side. A user name may be a maximum of 16 characters in length. The MySQL documentation recommends using only ASCII characters in the name. It would probably be safest to restrict yourself to lowercase letters, uppercase letters, and / or digits.
Host: since this is for AMPPS, select Local from the dropdown box.
Password: if you want the user to have a password, then leave the selection in the dropdown box as Use text field and enter a password (up to 16 characters, composed of letters and / or digits) into the edit box on the right.
If you don’t want the user to have a password (for the password to be blank) then select No Password from the dropdown box. Alternatively, you can allow the system to generate a password for you (remember it or write it down, since you will need to pass that password on to applications that need it).
9) Ensure Grant all privileges on database is selected.
10) Leave the Global Privileges as they are.
This database can now be used by any application that requires a MySQL database.
The user name and password for this database is whatever name and password you entered in Step 8.
Hi, This is easy to follow. However it is not yet working for me I have provided a user ID and Password as directed but are getting the following message;
“Warning: mysqli_connect(): (HY000/1045): Access denied for user ‘registerdb’@’localhost’ (using password: NO) in C:\Program Files (x86)\Ampps\www\usermanagement\server.php on line 11″
// server.php on line 11 connect to database
$db = mysqli_connect(‘localhost’, ‘registerdb’, ”, ‘thepasswordhere’);
Why would it say “(using password: NO)”
My best guess is that:
1) The reason you are getting Access denied for user ‘registerdb’@’localhost’ is because registerdb does not have access permission to the database. You need to grant registerdb permission to access the database. It has been many years since I’ve used AMPPS, but there should be an option to GRANT ALL PRIVILEGES for that user.
2) The reason you are getting (using password: NO) is because you are not using a password (i.e., the password is blank).